Wednesday, April 4, 2012

finishing Slappy


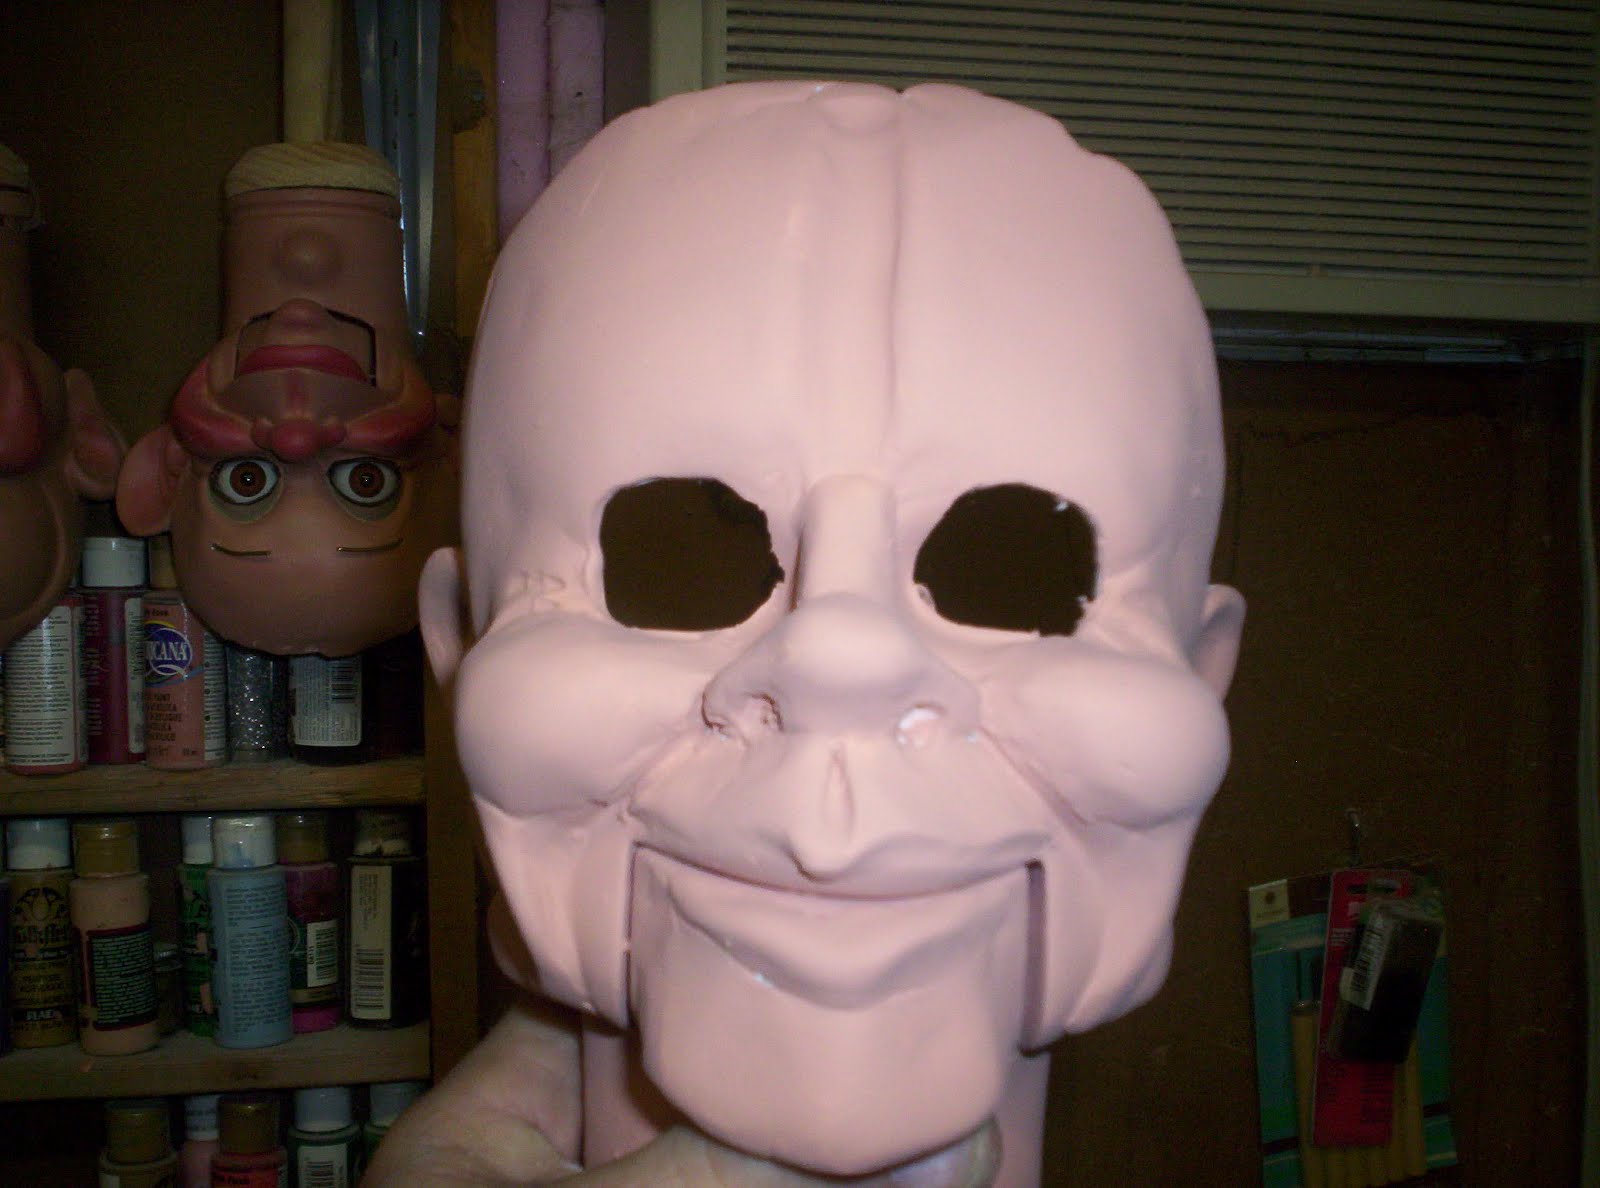
In the top phot0 we added his eyes and eyebrows and springs for mouth.The highlights are added to his face with acrylic paint.


His head is mounted to a headstick and the neck and eyebrows are then formed with magicsculpt.


The photo above shows the mechanics on the inside of the head. After they are finished, the back of the head is closed and the hair is sculpted with paperclay.


After the paper clay drys it is painted with several coats of acrylic paint and sealed with triple gloss and then a flat sealer. Slappy's head is finished and we add him to a wooden body with stuffed arms and legs. The whole process of making a body is done in an earlier blog "building Bob"


He is dressed in his classic Tuxedo and is ready to make someone happy.


Wednesday, March 21, 2012

making Slappy


youtube was good enough to feature my Slappy video and I have gotten numerous requests for him and how to make him so I will show you the steps of making Slappy.


This Slappy is a conversion figure. I start with a CM head and resculpt it with magic sculpt. After it dries I have alot of sanding to do to soften the features.


The next step is multiple coats of fleshtone paint. This takes acouple of days because you have to wait for the paint to cure before you put the next coat on. I then blend colors and highlights to bring out his features. I then put five coats of sealer on his face.

finishing the jaw


I gave him some teeth and a tongue and built up the bottom of his jaw so it swings back and forth with no gaps underneath. The jaw is now mounted inside the head.


Monday, March 12, 2012

preparing the jaw


After cutting out the jaw, I build up the sides and bottome with magic sculpt. After it dries, I belt sand it until I get a good fit in the head. I then cut a piece of wood for the top of the mouth where i will sculpt his teeth and tongue and hold it in place with magic sculpt/ As you can see by all the holes i drilled in the side of the jaw, There is no science to finding the right pivot for the jaw. Sometimes you have to put the bar through the jaw several times before you get the right spot for the jaw to pivot properly.

Monday, February 20, 2012

Half done?


Over the years I have aquired many half heads. Some are just that. The face and no back. When Finis' shop was sold to Charlie Horner, ventriloquist and figure maker, He sold alot of the unfinished work that was left in the shop. I aquired about fifteen of them. They are made from wood dough. Other figure makers made half heads or faces for practicing a certain style or for practice painting. They then sold them on ebay as such. I have aquired a few of them as well.


The one I am working on right now was done by Mike Palma who is an accomplished figure maker and ventriloquist as well as a magician. His work is highly sought after. I borrowed the picture of the half head from Mike Palmas site as I didn't take a picture of the face before i started working on it. Mike has a very interesting and informative blog. Ypu can read it at www.mikepalmasblogspot.blogspot.com


The first thing I did was create the rest of the head using balled up tinfoil and paper. I covered that with a layer of saran wrap and used a light weight polymer to created the rest of the head. I cut out the eyes and the mouth in order to animate them. Here is where I am so far.

Saturday, January 7, 2012

Happy New Year


2011 was a pretty tough year for us healthwise. My wife is having bi weekly dialysis and I almost lost an eye. I had a piece of wire enter my eye and it was actually sticking out. I went to the emergency room and they told me it must have fallen out. They gave me some drops and sent me on my way. Two days later I was at the Wills eye institute in Phila. having emergency surgery. I lost my eye sight for about a month. It happened on Nov. 29 and I am just now able to see out of it. Had I waited another day, the opthamologist told me I would have lost the eye.


I started working again in my shop this past week and finished up alot of figures I had in the works. I have finished an Elvis Presley full size figure and an old man.


I used Buzz's cast body for Elvis and it looks great. Kudos to Braylu creations. Buzz is a very creative artist. I enjoy working with him and recommend his products to any one that is interested in figure making.


Here are the pictures of Elvis and the old man as well as a full size Black figure I made and sold on ebay before the hulidays. I will be doing some different things this year. My NYR is to blog alot more. Happy New year to all.

Sunday, October 9, 2011

More look a likes


My favorite part of figure making is having a customer request a characture of someone. I request a side photo and a front photo of the head and start working from there. Here are some examples of some i have done recently.


Friday, August 19, 2011

some pictures to share


I received a request from a customer awhile back for a figure. She said her and her husband were looking to adopt one of my conversions as they had no children of their own. She said her husband was a natural comedian and thought that they would be a good team. She sent me these pictures along with this email: Here are some pix of my husband Jim with our new son. We are going to have a ball with him!

I emailed her back and said the pictures were great and if she would mind if i published them on my blog. She replied... Oh.... had we known that.... we would have taken cuter pictures.

I think the two of you missed your calling. Hey, Never too late! ( :

Sunday, July 3, 2011

Mask IV finished!


I had to use a straight bar to guide the mouth up and down and a series of springs in order to make the mouth move properly. The eye control is the basic L shaped groove control.


Here is the result. I covered the back and the top of the mask with fun fur and now he is being utilized as an articulated vent figure by the amazing Peter Hefty and company. Thank you Peter for your trust in me to take on this project for you. I hope he brings laughter to millions!

Thursday, June 2, 2011

Mask III


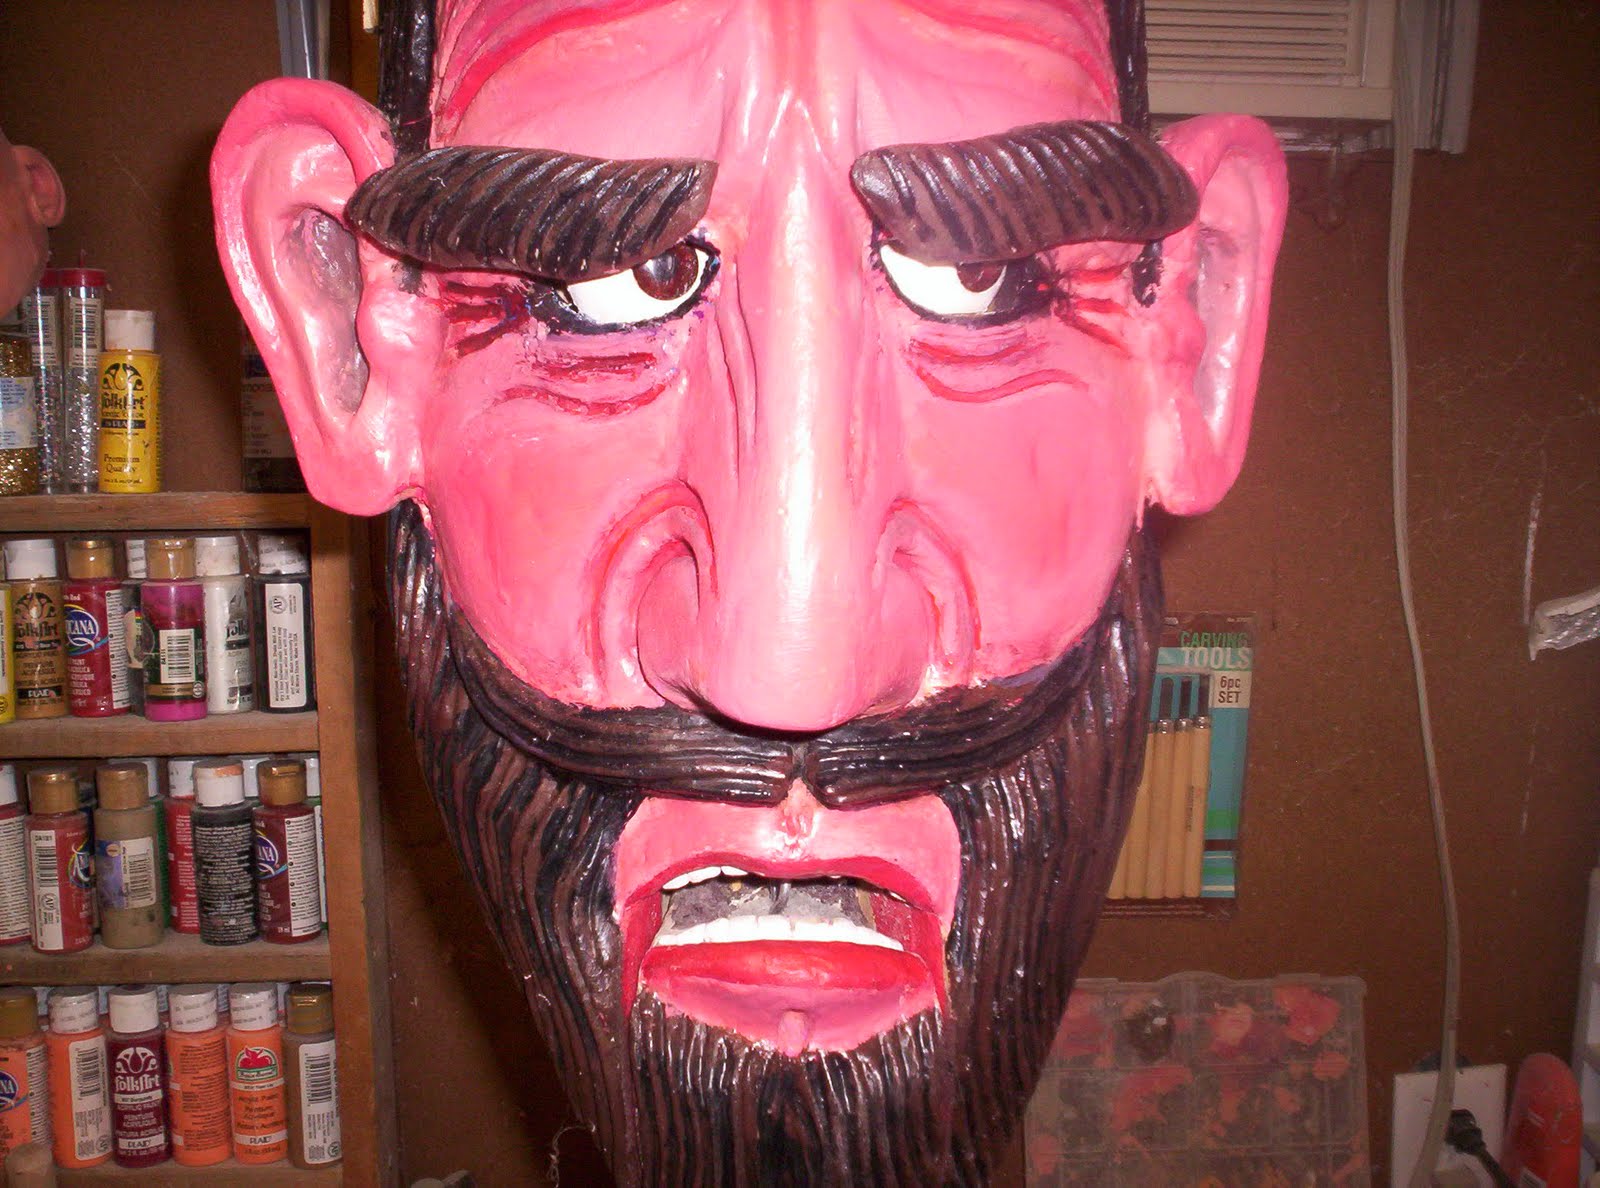
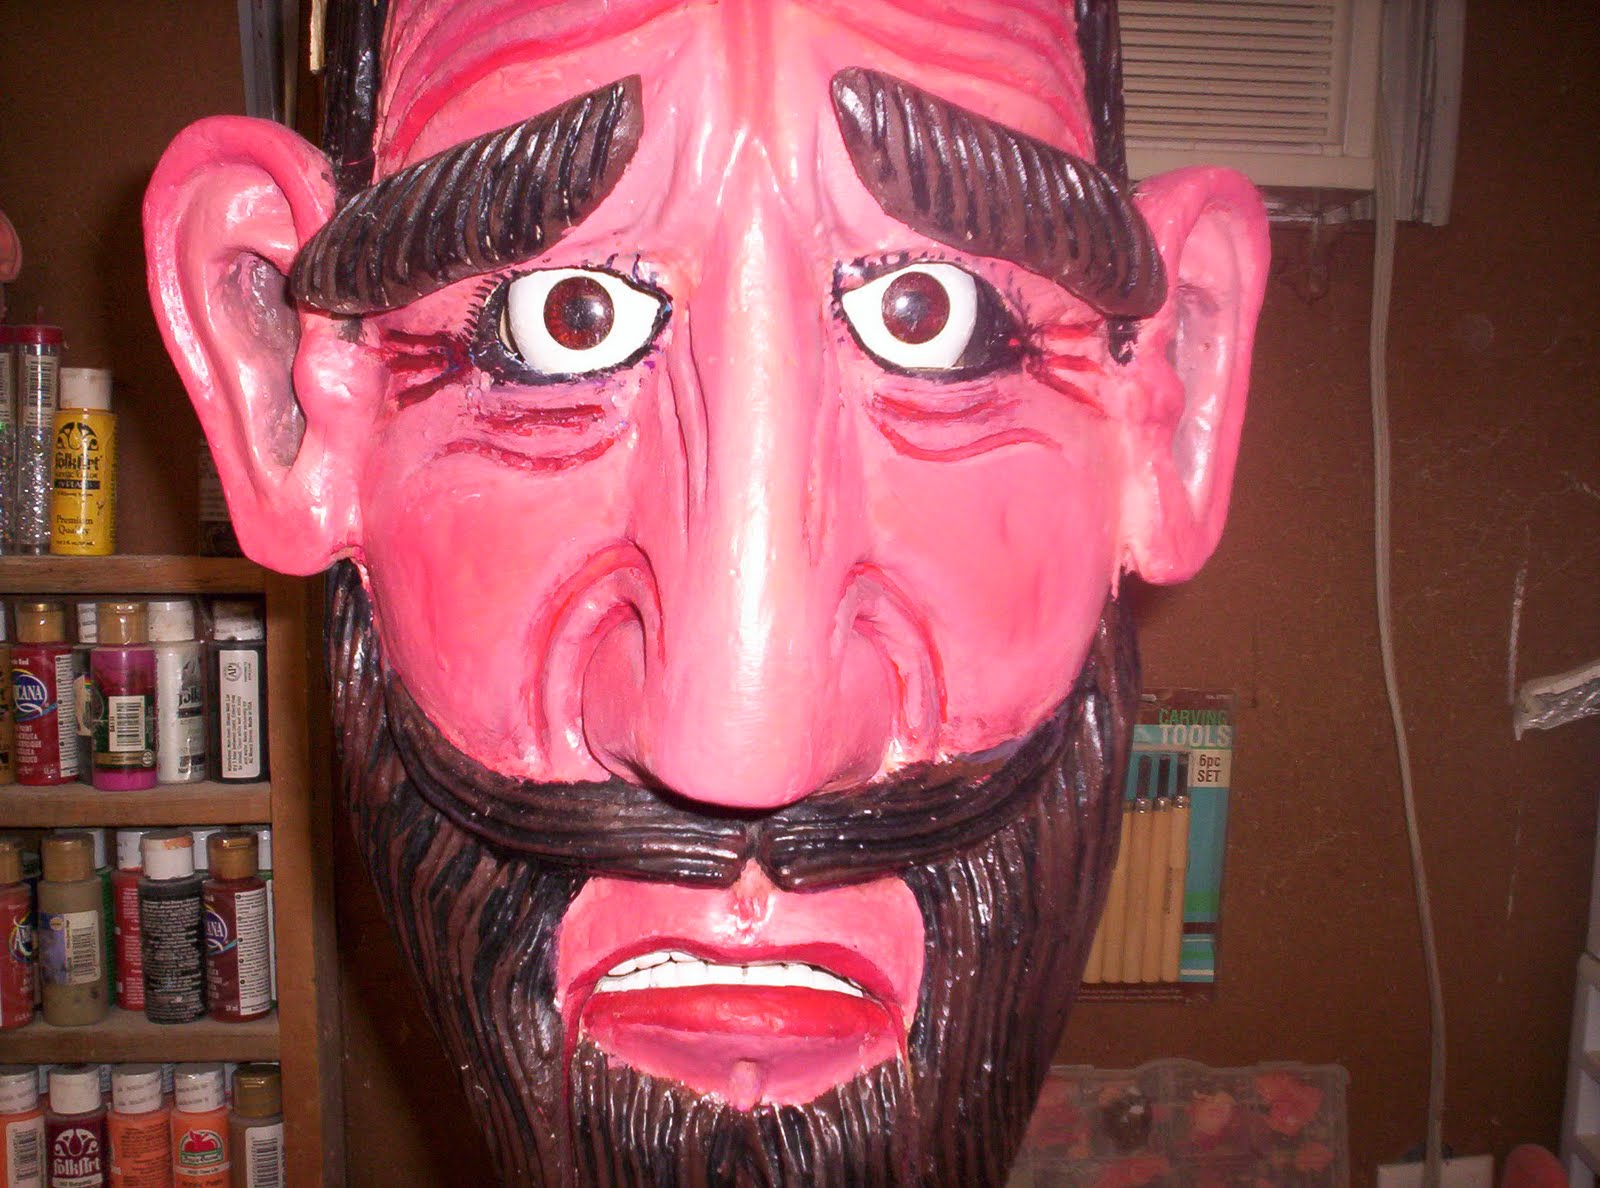
After drilling holes and inserting brass tubes in the forehead at the specific starting place of the old eyebrows, I attached his new moving ones.

I used springs and steel rods to enable the movement of his eyebrows and connected them to one control to move them up or down. I then gave him a fresh coat of paint and sealed him.