Sunday, October 9, 2011

More look a likes


My favorite part of figure making is having a customer request a characture of someone. I request a side photo and a front photo of the head and start working from there. Here are some examples of some i have done recently.


Friday, August 19, 2011

some pictures to share


I received a request from a customer awhile back for a figure. She said her and her husband were looking to adopt one of my conversions as they had no children of their own. She said her husband was a natural comedian and thought that they would be a good team. She sent me these pictures along with this email: Here are some pix of my husband Jim with our new son. We are going to have a ball with him!

I emailed her back and said the pictures were great and if she would mind if i published them on my blog. She replied... Oh.... had we known that.... we would have taken cuter pictures.

I think the two of you missed your calling. Hey, Never too late! ( :

Sunday, July 3, 2011

Mask IV finished!


I had to use a straight bar to guide the mouth up and down and a series of springs in order to make the mouth move properly. The eye control is the basic L shaped groove control.


Here is the result. I covered the back and the top of the mask with fun fur and now he is being utilized as an articulated vent figure by the amazing Peter Hefty and company. Thank you Peter for your trust in me to take on this project for you. I hope he brings laughter to millions!

Thursday, June 2, 2011

Mask III


After drilling holes and inserting brass tubes in the forehead at the specific starting place of the old eyebrows, I attached his new moving ones.

I used springs and steel rods to enable the movement of his eyebrows and connected them to one control to move them up or down. I then gave him a fresh coat of paint and sealed him.


Tuesday, May 24, 2011

Mask III eyebrows


Peter requested moving eyebrows for the mask. I sanded off the original ones and repainted the area to match the mask. I took a dowel of the same dimensions and shaped them the same as the original eyebrows, I used a dremel grinder to put the hair patern on them just as the originals had.

Saturday, May 21, 2011

Mask II


After adding the eyes, I had to get the mouth to go up and down. It was cut in an uneven wedge which made it impossible to slide up and down evenly. I had to slot the side of the beard, sand down the wedge and insert a strip of bass wood
on each side of the jaw. The slot had to be wide because the mouth was so uneven. It was the only way to make it work.

I then put two cross members across the back of the neck in order to attach a head stick.


Wednesday, May 18, 2011

The mask I


The first thing I did was grind out the holes for his eyes with a round rasp. I then filled in the slits that were below the painted eyes. They were put there for the wearer to see through. I used a pair of Braylu 1.5" eyes and ran a brass tube into each of them. then a rod through the tube. I made a flat shelf within the eye hole for the eye to sit in. I put slots above and below the eye for the rod to sit in and filled them with magic sculpt.

Monday, May 16, 2011

The Mask


I was contacted by Peter Hefty, a well known ventriloquist who has opened for such acts as Neil Young, Jay Leno, Sinbad and Jerry Lewis. He has many comedic awards under his belt and has been entertaining since the '70's.


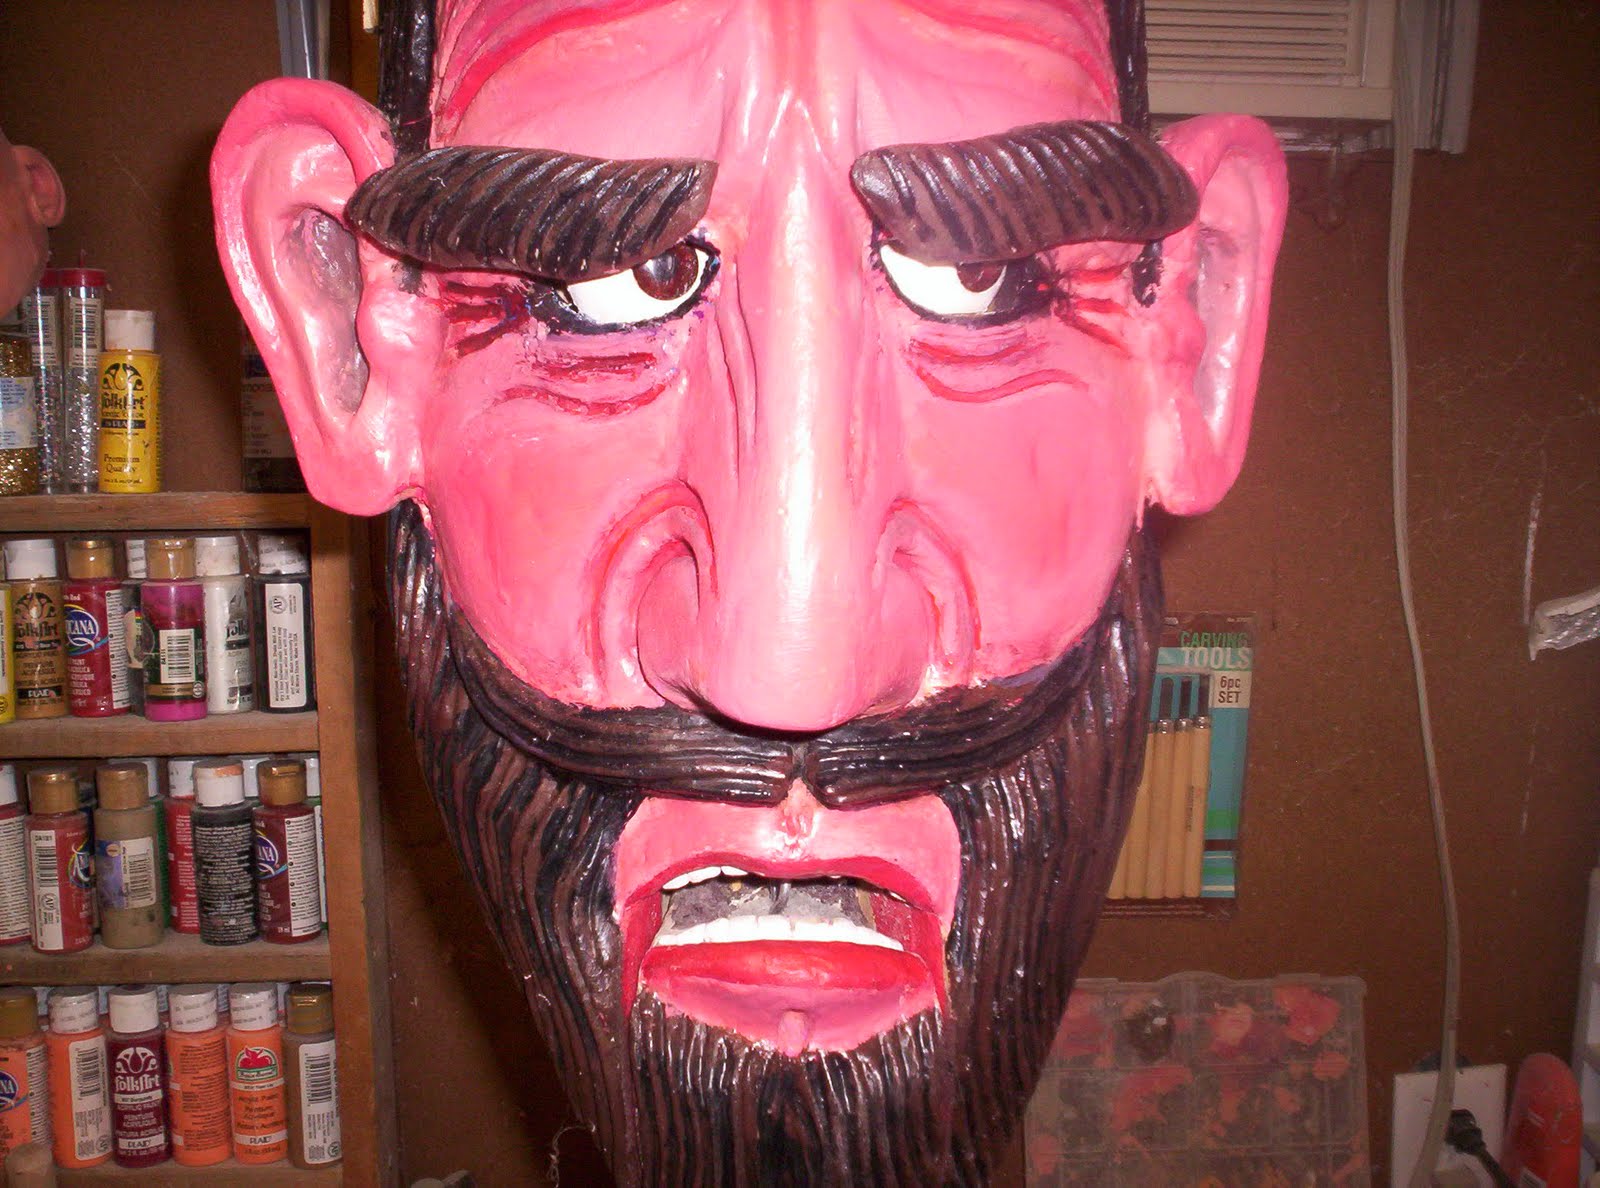
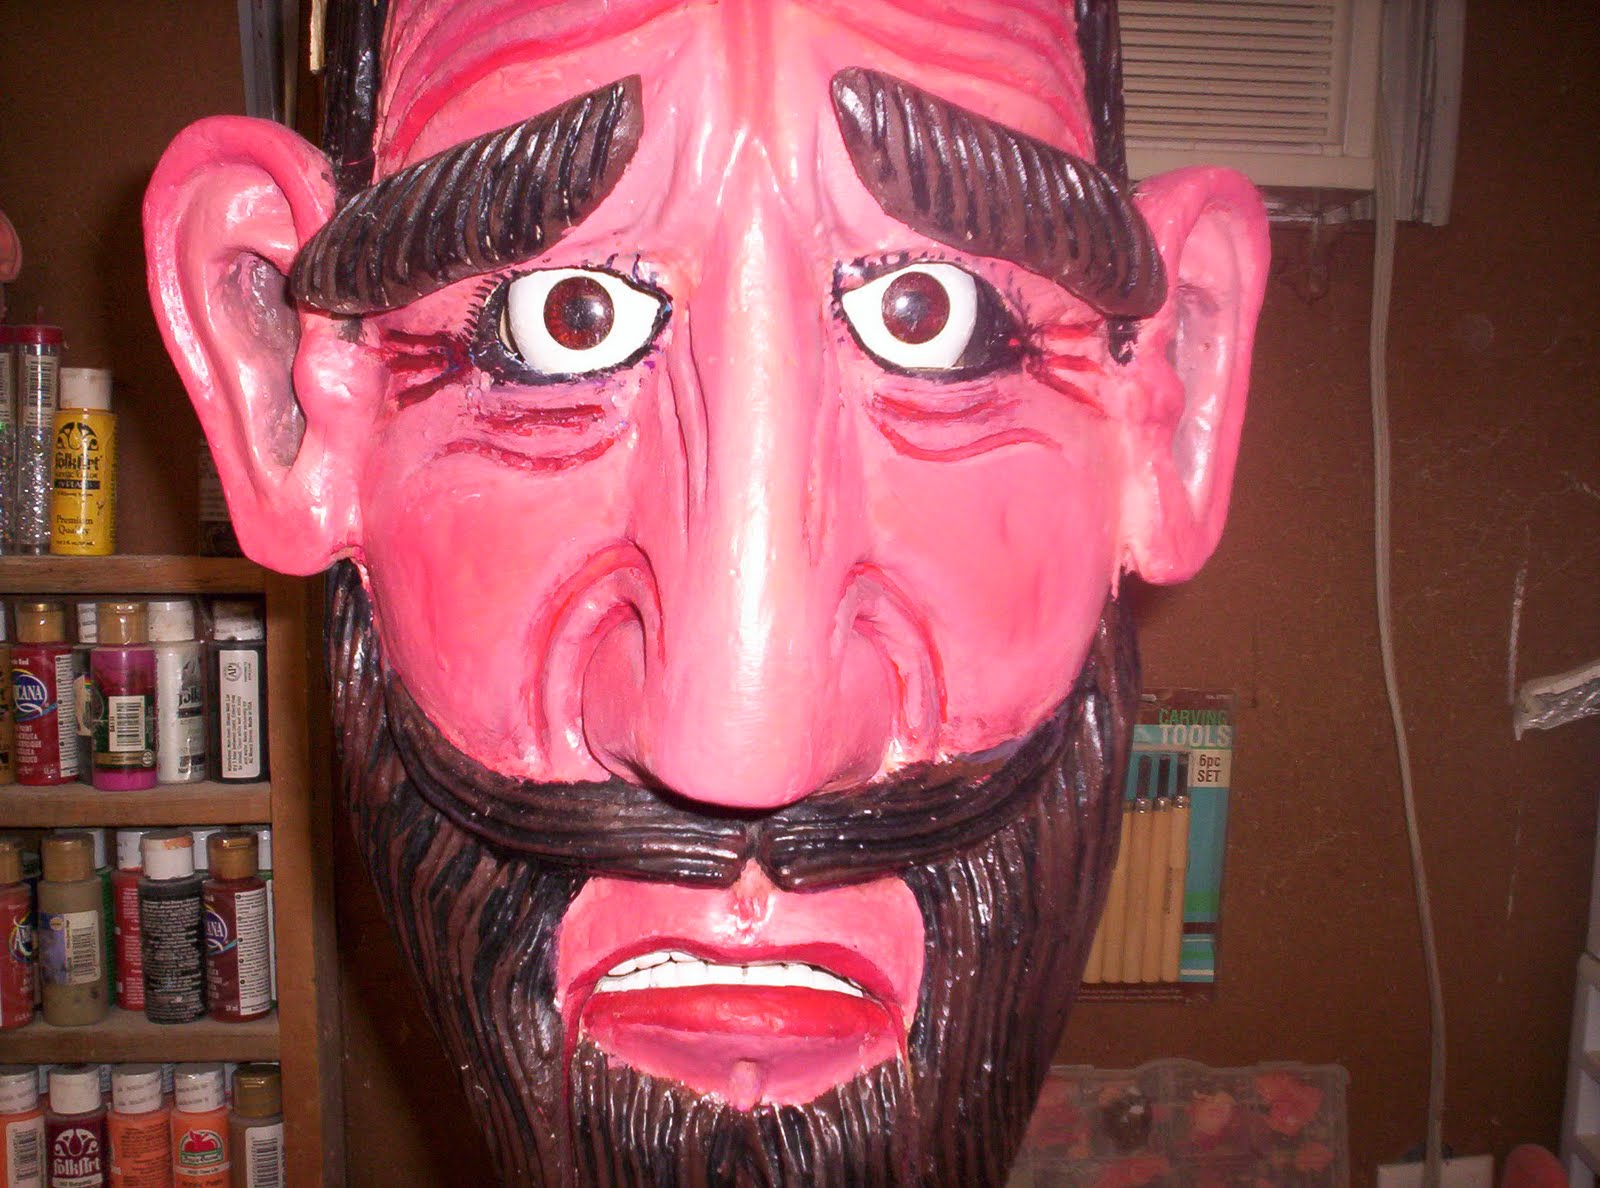
He had a Tiki mask that he wanted me to animate for him. It had a mouth that was cut out in a wedge (not symmetrically unfortunately) and it kind of slid up and down. He wanted me to put it on a head post and give it self centering eyes. raising eyebrows and a moving mouth all controlled by the head stick. I will show you the various stages of animating it.


The first is a picture of the mask before I did any work. Here is a promotional photo of Peter and gang. The mask we are talking about is the one in his hand. It is hand carved solid wood with a wedged mouth cut out.

Monday, April 11, 2011

some "professional" figures


I have been working on several different look alikes. More requests for full size figures and I had a chance to complete the first cast head from Braylu of my design. Here are three recent full size figures I made. I don't like using that terminology :professional size" Because as far as I'm concerned, any figure can be professional if he is paid for his work! Until then, they are all amateurs!

Friday, March 11, 2011

Piggies Body


I was trying to think of something different for a body. I received a Miles Kimballcatalogue in the mail and they had 17" Easter Eggs (hollow plastic) I bought two of them. I cut the top and the bottom off the egg and mounted a wood bottom and top on the open ends. I cut a neck hole in the top and glued them in place with hotmelt. I cut a square opening in the back for hand access and painted the egg the same color as the pigs head. I then made two little hooves out of wood and magic sculpt and connected them to some tube arms. I wanted the pig to have an extra animation so I connected cord to his arms an ran them over a small dowel on the top and drilled holes into the top for the cord to pass through.I tied them to a handle inside the body so the pig can raise or flap his arms together or individually. It's a great animation . I added little legs and here we are so far.

Sunday, February 20, 2011

Finishing the pigs head


I added raising and lowering eyebrows by connecting a rod to the springthat connects the eyebrow linkage and ran it through a brass tube that runs down the back of the head post.


I used a red boa for his hair andeyebrows. Here is the finished product.

Monday, February 7, 2011

Pig Head mechanics


Inside the head you can see that I attached the eyes and the mouth with magic sculpt. Not too neat bt very functional.


I put eye screws in each eyeball and attached a looped "T" control bar to them.
I ran a tube up the headstick and into the head and made the "L" shaped rod controller that moves the eyes back and forth.
Two tubes were run through forehead and rods bent inside with a spring attached for the eyebrow control and eyebrows in the front.
I coated the eye brow rods with magic sculpt and feathered them to look like eyebrows.


I sanded the face real well and painted it and this is where we are so far.